


If you brush your dog often, you probably have a bag of soft fur somewhere that you can't quite bring yourself to throw away. Needle felting turns that fur into something you can keep — a small heart, an ornament, even a tiny likeness of your dog. This guide shows you how to needle felt dog hair as a complete beginner: which fur works, how to prepare it, and how to felt your first keepsake. The basics are easy to pick up. A lifelike portrait is a different story, so we'll also cover when to try it yourself and when to save your fur for a professional piece.
If your dog's fur is precious, start with a small test piece first. For a lifelike keepsake made from your pet's photo and saved fur, Paw Trove Felt Ever can create a custom wool felt pet portrait while you keep the remaining hair safely stored.
Key Takeaways
- Needle felting uses a barbed needle to lock loose fibers together — no water, heat, or craft experience needed. You can create art from loose fibers, including your dog’s hair.
- Remember one rule: wool is the skeleton, dog hair is the coat. Build every 3D shape on a wool base, then cover it with your dog’s hair.
- Only the soft undercoat — the fluffy layer under the outer fur — felts well. Collect it by brushing, then clean and dry it fully before you start.
- Begin with a small, flat project like a heart or ornament, and never use all of a precious fur supply on your first attempt.
Needle Felting Basics
What Is Needle Felting?
Needle felting means shaping loose fibers by poking them with a thin needle covered in tiny notches. Each poke tangles the fibers until they hold together as a solid shape. There is no water or heat involved, so you can work at a kitchen table with just a needle, a foam pad, and some fiber. You can make flat pictures, small ornaments, or full 3D figures.
Dog Hair and Wool: How They Work Together
Here is the one idea that makes everything else in this guide simple: wool is the skeleton, dog hair is the coat. Wool felts easily and firmly, so it forms the core of any 3D shape. Dog hair — specifically the soft undercoat — is what you place on the surface, so the finished piece carries your own dog’s color and texture. Whenever this guide says “wool base” or “blend with wool,” it means using wool for structure so your dog’s hair can do the visible, meaningful part of the job.
| Quality | Dog Hair | Sheep Wool/Alpaca |
|---|---|---|
| Role in your project | Surface — color, texture, meaning | Structure — base and strength |
| Texture | Soft, mostly from undercoats | Varies, but usually soft |
| Felting behavior | Slippery on its own, harder to felt | Felts easily and holds shape |
| Preparation | Needs careful cleaning | Ready to use as roving |
If you want to see where this combination can end up, look at Paw Trove Felt Ever’s pet portraits — every one is a strong wool core layered with fiber that matches the real pet’s coat.
Supplies for Needle Felt Dog Hair
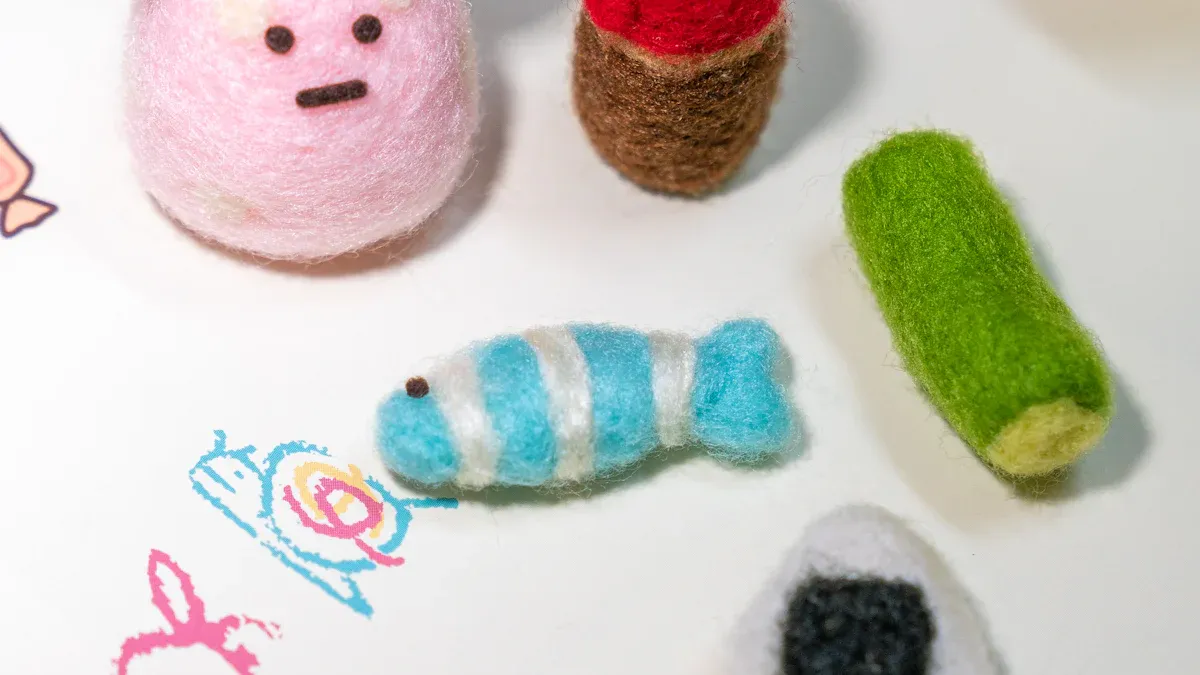
You only need five things to start:
- Felting needles: one fine, one medium
- Foam pad or felting mat
- Wool roving — loose, unspun wool sold in ropes; Merino or alpaca with long fibers gives the softest finish
- Scissors
- Clean, dry dog hair
Two safety notes before you start. Felting needles are sharp, so always work on the pad, poke slowly, and keep your fingers out of the needle’s path. And keep your dog out of the room while you felt — both for the needle’s sake and because a curious nose in your fiber pile ends badly.
Preparing Dog Hair for Felting
Collecting and Sorting
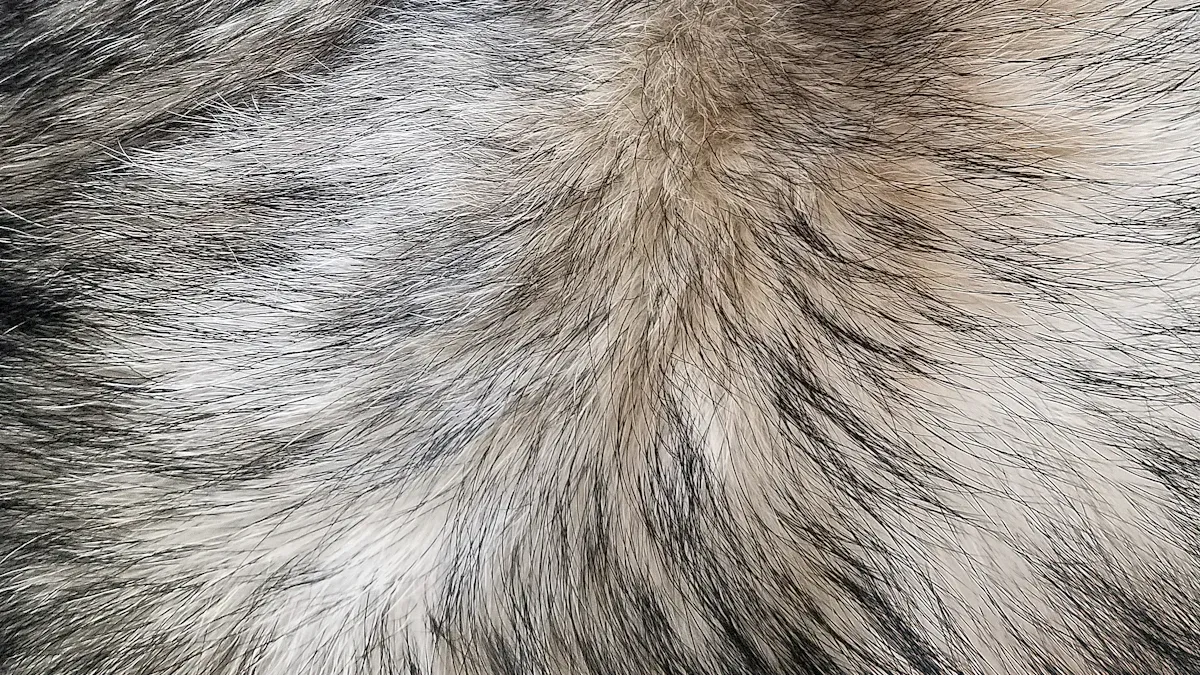
Collect soft undercoat hair by brushing your dog, ideally during shedding season. Brushings give you longer, softer fiber than clippings from the groomer, which are usually too short and rough to felt on their own. Pick out leaves and debris, keep only the fluffiest fibers, and store them in a paper bag or pillowcase labeled with your dog’s name, coat color, and the date. If you have more than one dog, keep their fur in separate labeled bags — every coat behaves differently.
Cleaning, Drying, and Storing
If the hair looks oily or smells doggy, wash it gently in a mesh bag with mild soap and lukewarm water. Rinse, squeeze out the water, and spread it on a towel to air dry completely — damp fiber clumps and will not felt. Once dry, fluff the clumps apart with your fingers or a slicker brush so the fibers separate. Store everything in a breathable container away from sunlight and moisture; plastic bags trap dampness and can cause mold.
Note: different breeds shed very different fiber. Long, fine undercoat felts best. Short or coarse hair can still be used — it just needs more wool support underneath.
Needle Felting with Pet Hair: Step-by-Step
With your fur prepared, the actual felting has three stages: build the wool base, attach the dog hair, then shape the details. This is how you turn loose fiber into a keepsake that looks and feels like your own dog.
Step 1: Make the Wool Base
- Roll a piece of wool roving into the rough shape you want — a ball for a head, a cylinder for a body, a flat pad for a heart or patch.
- Poke it repeatedly with your felting needle, turning as you go, until the wool feels firm and holds its shape.
- Add more wool wherever the shape needs to be bigger or firmer, and keep felting until the whole base is solid.
Tip: Paw Trove Felt Ever artists always start with a sturdy wool base. This step helps them create lifelike pet portraits that last.
Step 2: Attach the Dog Hair
- Lay a thin layer of dog hair over a little wool and pull your hands apart a few times to blend them — this stops the slippery dog hair from shedding off later.
- Cut the blended fiber into small strips of roughly equal length.
- Starting at the bottom of your shape, place a strip on the base and poke it in, working in different directions so the fibers lock.
- Add each new strip slightly above the last, like roof shingles, tucking in the edges so there are no loose ends. Thin layers hold; thick layers fall off.
- Trim stray fiber with scissors as you go. A dog brush with metal bristles can fluff the surface afterward for a fuzzier, more natural coat.
Step 3: Shape and Detail
- Switch to your fine needle to sharpen edges and define lines.
- For eyes, nose, and mouth, shape tiny pieces of wool tightly and needle them on. Whiskers can be fine wire attached with a dab of glue, blended over with fiber.
- Keep a photo of your dog next to you and check for symmetry and markings as you work.
Paw Trove Felt Ever artists use these same techniques in their custom portraits — just built up over many more layers and hours.
Soft reminder: a simple heart, patch, or ornament is a good beginner project. If you want a realistic face, natural eye expression, and layered coat color, consider saving your best dog hair for a custom felt portrait and practicing on extra fur first.
Tips and Common Mistakes
Most beginner frustration comes from a handful of avoidable habits:
- Work with small amounts of fiber at a time — you get far more control and a smoother surface.
- Do not poke the same spot over and over. Over-poking makes the surface hard, dented, and uneven.
- Test a small pinch of each dog’s hair before committing to a big project. Some coats felt beautifully; others need much more wool support.
- Do not try to build a full sculpture from dog hair alone — it will stay floppy no matter how long you poke. That is the wool base’s job.
- Go slowly. Needle felting rewards patience more than skill, and rushing is how fingers get poked.
Remember, this is a craft about your dog — enjoy the process as much as the result.
Easy Needle Felt Dog Hair Projects
Simple Shapes to Try
The best way to start needle felting with dog hair is a small project that forgives wobbly technique. A memorial heart or a flat framed patch is ideal for a first attempt — and because these shapes stay soft, they are the rare projects where pure dog hair works without a wool core.
| Project Type | Difficulty | Good for Pure Dog Hair? | Why it Works |
|---|---|---|---|
| Memorial heart | Easy | Yes | Small shape, meaningful, texture stays soft |
| Flat patch or framed accent | Easy | Yes | No need for structural perfection |
| Ornament or keychain charm | Medium | Better as a blend | Needs durability for handling |
| Mini face medallion | Medium | Better with wool support | Fine detail easier with stable base |
Keepsake Ideas
Once you are comfortable, you can move up: an ornament, a keychain charm, a mini face medallion, or dog hair used as a soft filler inside a small pillow. The final level is a full realistic sculpture. You can learn advanced techniques through video lessons and workshops, but realistic sculpting — long fur, expressive eyes, accurate markings — usually takes months of practice. To see the level of detail a finished professional piece can reach, read how lifelike a wool felt pet portrait can look.
Custom felt pet portraits inspire many crafters — a realistic likeness of your own dog is a worthy long-term goal, even if your first heart looks a little lumpy.
When to DIY and When to Choose a Custom Portrait
DIY needle felting is meaningful, but not every project carries the same risk. Use this quick guide before deciding how much of your dog’s hair to use.
| Goal | Best Choice | Why |
|---|---|---|
| Practice or learn the craft | DIY test piece | Low pressure and good for learning how your dog’s hair behaves |
| Use a small amount of fur | Heart, ornament, or framed accent | Simple shapes are easier and need less structure |
| Create a lifelike memorial portrait | Custom felt pet portrait | Professional shaping, wool support, and careful layering help preserve the look of your dog |
If the fur came from a dog you have lost, avoid using all of it on your first attempt. Keep a labeled reserve and use only a small amount for testing. For more ways to keep their fur and memory safe, see how to preserve your pet’s memory after saying goodbye.
That is everything you need to begin needle felting with dog hair: a felting needle, a foam pad, some wool roving, and a small amount of your dog’s clean undercoat. Practice on a test piece first and let the wool do the structural work. And if you want the final keepsake to look like your dog rather than a beginner practice piece, prepare clear pet photos, keep your best fur safely labeled, and ask Paw Trove Felt Ever about a custom felt pet portrait — the safer path when the fur is limited, sentimental, or impossible to replace.
FAQ
Can you needle felt with any type of dog hair?
You can use most soft undercoat hair for needle felting. Short, coarse, or very slippery hair does not felt well on its own. Always test a small amount first to see how it behaves.
How do you keep your fingers safe while needle felting?
Use a foam pad or felting mat under your project. Hold the fiber with your fingers away from the needle’s path. Work slowly and focus on each poke.
Do you need to mix dog hair with wool?
For anything structural or 3D, yes — wool gives the project strength and shape, and helps the dog hair stay attached. Soft flat pieces like hearts can use pure dog hair.
How do you clean dog hair before felting?
Wash the hair with mild soap and lukewarm water. Rinse well and let it air dry completely. Store only dry, clean hair in a breathable bag.
Can someone make a felted keepsake from my dog’s hair for me?
Yes. Custom studios like Paw Trove Felt Ever create wool felt pet portraits from your pet’s photos and can incorporate a small amount of saved fur. This is a good option when the fur is limited or sentimental and you want a lifelike result without months of practice.


